Short answer: Yes. Most modern garage door openers let you add access without a handheld remote by using the motor’s Learn/Program button, a multi-function wall control, or a wireless keypad. You’ll put the unit into learn mode, follow a quick pairing step, and test. If the opener won’t enter learn mode, the door reverses instead of closing, or you notice electrical issues, it’s best to bring in a professional.
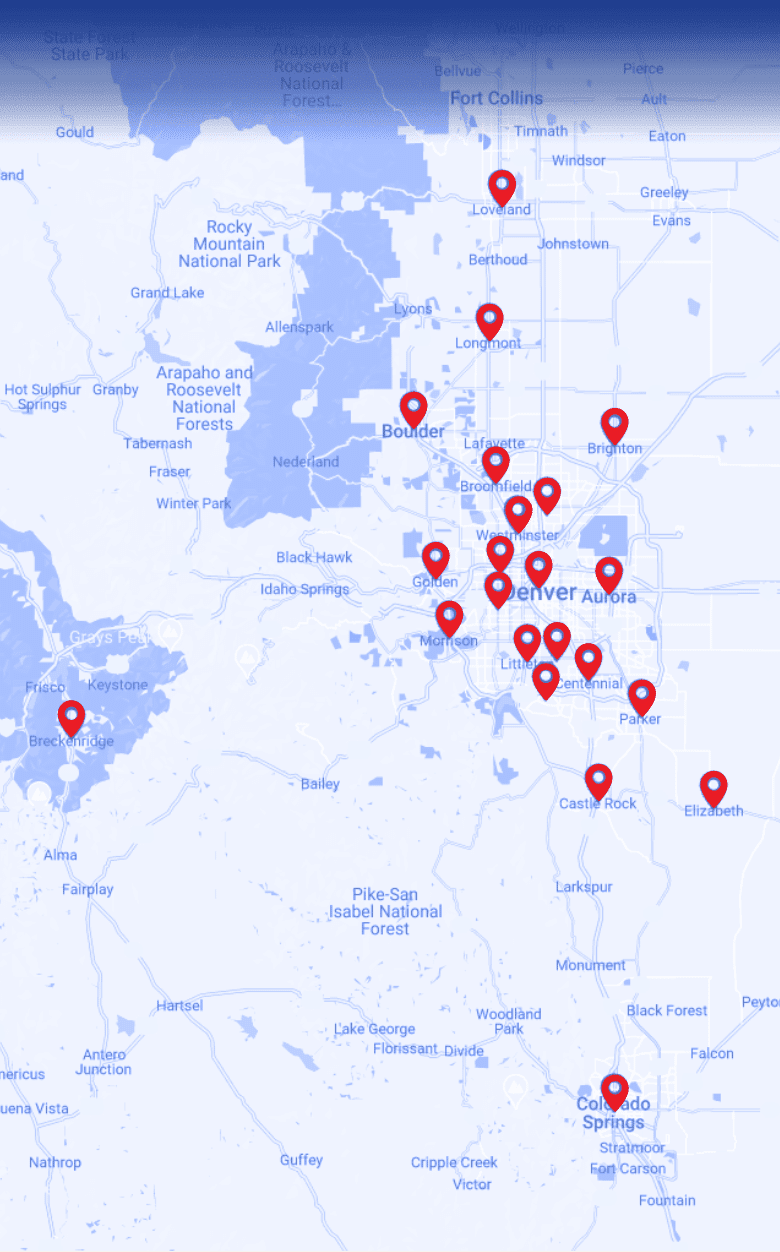
This guide is for Lakewood homeowners who’ve lost a clicker, just moved in, or want keypad/vehicle-button access. We’ll walk you through safe, DIY-friendly steps and point out where a technician can help if things don’t cooperate. Local conditions like humidity, dust, and strong afternoon glare can make photo-eyes (safety sensors) finicky during testing, so keep an eye on alignment.
Prefer a pro? Select Garage Doors offers a garage door opener service in Lakewood—from keypad setup and wall-control programming to sensor alignment and opener diagnostics. A quick call gets you clear options and a convenient time.
Table of Contents
- Before You Start: Safety and Basics
- Method A: Using the Learn/Program button (no remote)
- Method B: Using a Multi-Function Wall Control (if equipped)
- Method C: Programming a Wireless Keypad (without a handheld remote)
- Troubleshooting: Quick Decision Tree
- When to Stop and Call a Professional
- Lakewood-Specific Notes
- Prefer a Technician to Handle Your Garage Door Opener?
- FAQs
Before You Start: Safety and Basics
- Keep the door closed while you program and test.
- Never bypass photo-eyes (the safety sensors near the track bottoms). If their beam is blocked or misaligned, the door shouldn’t close—fix alignment rather than forcing it.
- Hands off high-tension parts. This guide covers electronics and settings only—not springs, cables, or track work.
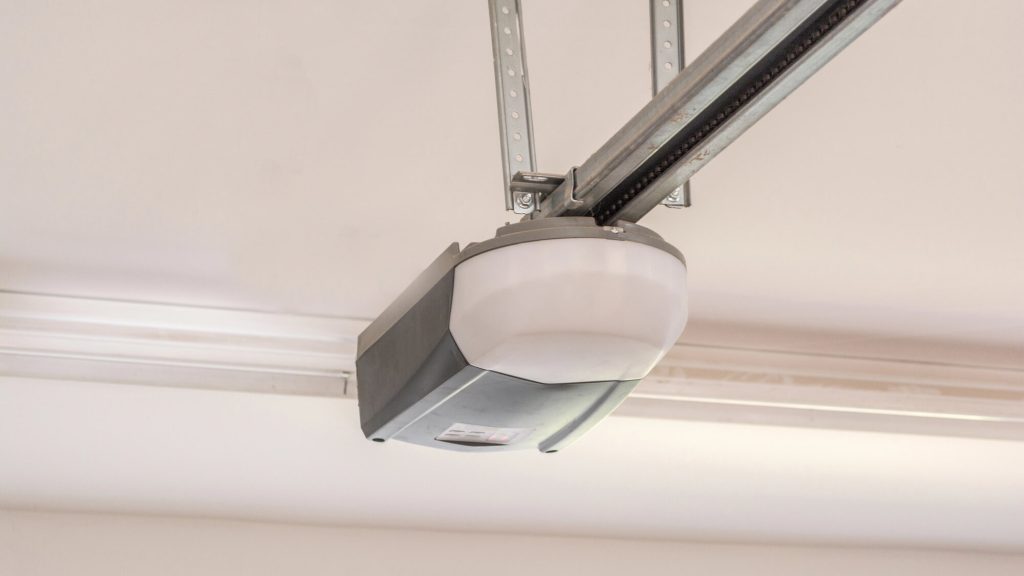
- Find your Learn/Program button. It’s on the motor head (rear/side), sometimes behind a light cover.
Minimal tools & supplies
| Item | Why you need it |
| Sturdy ladder | Safely reach the opener’s Learn/Program button |
| Smartphone camera | Snap the model/serial label for reference |
| Owner’s manual (or PDF) | Menu sequences differ by brand |
| Wireless keypad (optional) | Add outside access without a remote |
| Fresh keypad battery | Avoid pairing failures from low voltage |
| Flashlight | Spot button colors and LED blinks |
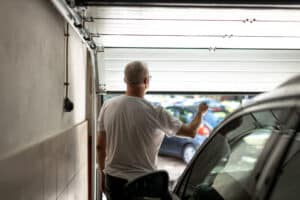
Method A: Using the Learn/Program button (no remote)
- Locate Learn/Program. On the motor head (often behind a light lens). Note the button and nearby indicator LED.
- Enter learn mode. Press and release (or press and hold, depending on your model) the Learn/Program button until the indicator shows pairing mode.
- Choose what to pair (no handheld remote):
- Wireless keypad → keep the opener in learn mode and follow Method C.
- Built-in vehicle buttons → with ignition on, follow your vehicle’s in-dash instructions during the active learn window.
- Multi-function wall control with a menu → see Method B.
- Confirm. The opener typically clicks or its light flashes when pairing succeeds.
- Test open and close. If it opens but won’t close, check safety sensor alignment (see Troubleshooting).
- Add more devices as needed—use a fresh learn window for each.
Tip: If the pairing window times out, just re-enter learn mode and continue.
Method B: Using a Multi-Function Wall Control (if equipped)
Some wall controls allow programming directly from the wall station.
- Open the wall control menu. Press Menu/Program until you see an option like “Add Device/Remote/Keypad,” or watch for the programming indicator.
- Select the device type (keypad, vehicle buttons, remote).
- Start pairing. The wall control typically puts the opener into its learn window automatically.
- Complete the step on your keypad or vehicle during that window.
- Save and exit, then test open and close.
Note: If your wall control is a single button with no menu, use Method A.
Method C: Programming a Wireless Keypad (without a handheld remote)
You’ll pair the keypad directly to the opener.
- Mount the keypad and install a fresh battery.
- Enter the opener’s learn mode (see Method A).
- Enter a temporary PIN on the keypad (usually 4 digits).
- Run the keypad’s pairing sequence per its manual during the active learn window (most use PIN + Enter or a similar confirm key).
- Set your permanent PIN if you used a temporary one.
- Test an open cycle and a close cycle from the keypad. If closing fails, see Troubleshooting.
Security tip: Change the PIN after move-ins/move-outs or whenever you’ve shared access.
Troubleshooting: Quick Decision Tree

Opener won’t enter learn mode:
- Confirm you’re pressing Learn/Program (not force or limit screws).
- Power cycle the opener (unplug ~10 seconds, then plug back in).
- Still no learn mode? Likely a control/logic board issue → schedule service.
Keypad “pairs” but won’t operate the door:
- Repeat pairing within the active learn window; replace the keypad battery.
- On universal keypads, confirm you selected the correct compatibility mode for your opener type (check keypad manual).
- Persistent failures suggest a compatibility or control board problem.
Door opens but won’t close:
- Check photo-eye sensors: both LEDs should be solid. Clean lenses; realign until steady.
- Watch for strong sunlight or glare on sensors; slight bracket adjustments or a small shade can help.
- Do not increase force to push through a close—fix the cause or call a pro.
Unit clicks, hums, or stalls
- That points to mechanics or controls, not programming (e.g., travel limits, worn drive parts, capacitor, board). Book a garage door opener repair service.
Built-in vehicle buttons won’t program
- Some vehicles require a compatibility bridge for newer opener technologies.
- Timing is critical—perform the in-vehicle step while the opener is in learn mode.
When to Stop and Call a Professional
Call a pro right away if and when:
- You smell burning or see scorch marks on electronics.
- Exposed/frayed wiring or brittle insulation at the opener or wall control.
- The door binds on the way, rubs the track, or makes grinding noises.
- The opener forgets devices frequently or refuses to enter learn mode.
- You’re considering adjusting torsion springs, cables, or track hardware (this is pro-only work).
Lakewood-Specific Notes
- Common models: the Learn button color helps select the right pairing mode.
- Climate quirks: Moisture and dust can nudge photo-eyes out of perfect alignment; a gentle tweak often restores reliable closing.
- HOA/condo garages: Check community access rules before adding keypads or vehicle transmitters to shared doors.
Prefer a Technician to Handle Your Garage Door Opener?
If DIY stalls, or you’d rather have a pro, Select Garage Doors offers priority garage door opener repair service in Lakewood. We handle keypad setups, wall control upgrades, logic board diagnostics, sensor alignment, and full opener replacement when that’s the smarter long-term fix.
Contact us or request a quick quote. Friendly scheduling, clear options, and reliable results.
FAQs
Can I do this without buying a new remote?
Yes. Use the opener’s Learn/Program button to pair a keypad or your vehicle buttons during the learn window.
Where is the Learn button?
Usually on the rear/side of the motor head under a light lens. Common brand units use yellow/purple/red-orange; others label it Program/Learn.
Will adding a keypad erase my other remotes?
No. Adding devices doesn’t wipe existing ones. Holding the Learn button long enough to reset memory will clear all devices—only do that if you intend to.
Why does the door reverse after programming?
That’s typically photo-eye alignment or an obstruction. Clean and align the sensors until both LEDs are solid; then retest.
Do I need to reprogram after a power outage?
Usually not. If memory keeps resetting after outages, the logic board may be on its way out.
Is it safe to adjust force or travel limits myself?
Menu-based tweaks can be safe if the manual is clear, but cranking force higher to defeat reversals is risky. If limits drift or the door binds, book a service.
Can my car’s HomeLink be programmed without a handheld remote?
Often, yes. Perform the car’s learn step while the opener is in learn mode. Older HomeLink systems might require a bridge for newer openers